
Step 1: Use the light blue plaid patterned paper as the base.


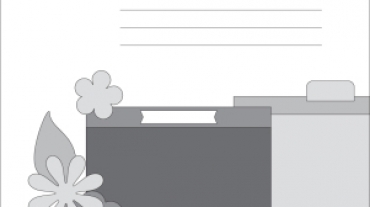
Step 2: Using the outside of the Jumbo Circle Pattern and the Red Blade, cut a segment from each Cardstock as follows:
- Align the Custom Cutting System with the Jumbo Circle Pattern to match 0″ and 11″ as shown in the picture above and cut.
- Move the Jumbo Circle Pattern to match 0″ and 10″ and cut.
- Cut the same segment from all the rainbow shades of cardstock.
Step 3: Cut two ovals using the outside of the largest Custom Cutting System Oval Pattern with the Green Blade from White Cardstock. Using the Clouds Border Maker Cartridge, punch all around the oval.
Tips for how to punch clouds shape: Hold the housing of the Border Maker System with the punching face up. Insert a piece of paper to the housing. Start punching from any part of the oval. Make sure you always flip the punch so that you can punch with the punching face down to prevent small pieces from being jammed. Before punching the next segment, align the first curve of the cartridge to the last curve of the already punched clouds.
Step 4: Using the ink pad of the Alphabet Stamp Kit System, ink the edges of clouds to add a little extra dimension.
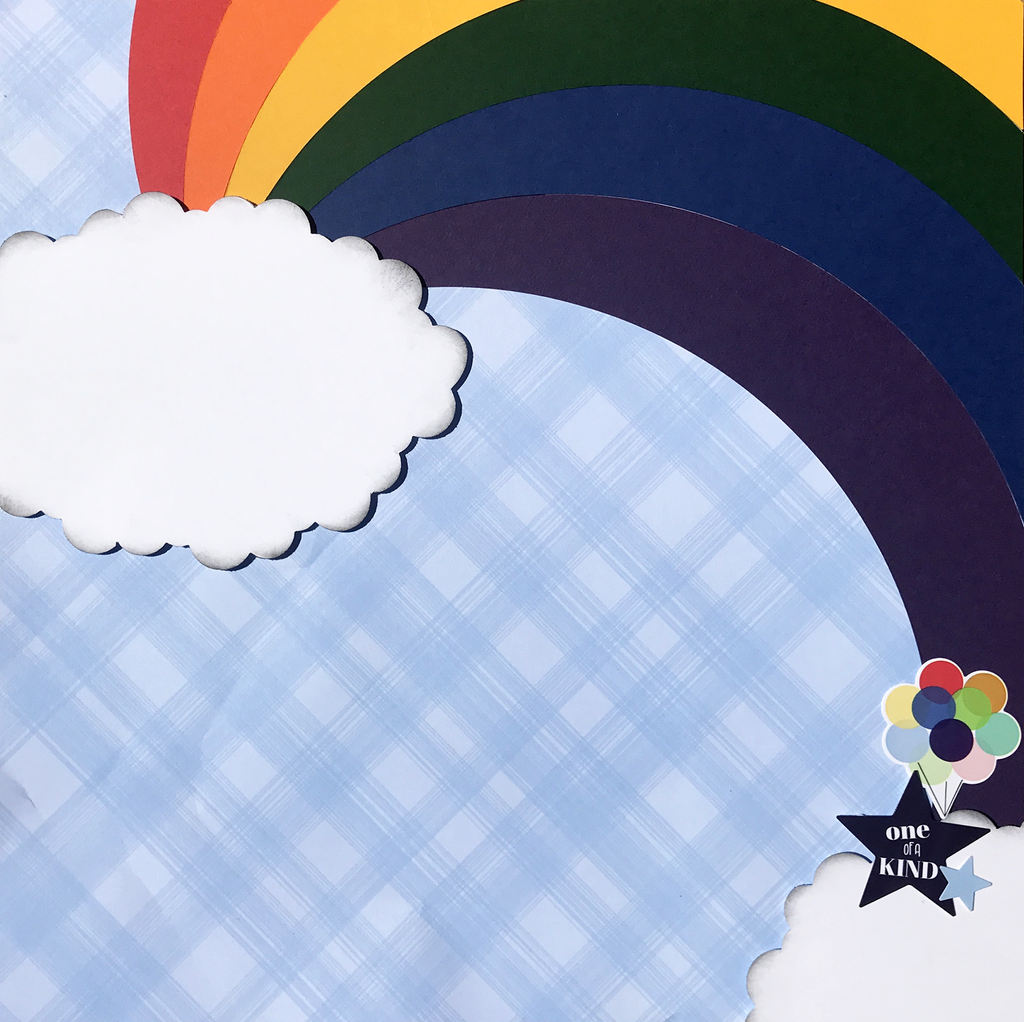
Step 5: Adhere the rainbow segments to the upper side of the base. Trim the excess. Add clouds using Foam Squares and trim the excess. Save the excess pieces of the clouds for the next layout.

Step 6: Adhere stickers and embellishments, using Foam Squares on some for added dimension.
Sachiyo’s Inspiration — You Are My Rainbow Layout


Step 1: Use the teal dot patterned paper as the base.
Step 2: Cut the blue plaid patterned paper to measure 3-3/4″ x 12″ and adhere it to the top of the base.


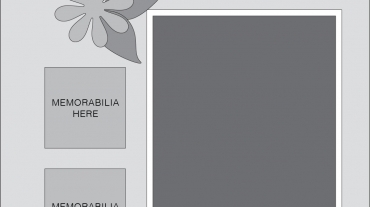
Step 3: Adhere the rainbow segments in 1″ increments as shown. Align the Jumbo Circle Custom Cutting System Pattern at 6″ mark on the cutting mat as shown and cut with the Red Blade. Mount it on the base.

Step 4: Using the Ruffle Trim Border Maker Cartridge, punch two borders from White Solid Cardstock. Adhere one of the borders to the base, at the end of the rainbow. Adjust the position of the other border so the curve design is aligned. Trim the excess.
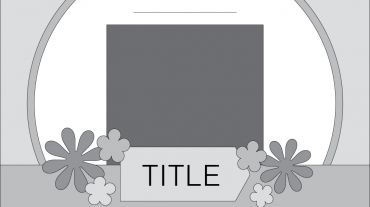
Step 5: Add the cloud piece that was cut off in the previous layout. Use some Foam Squares for added dimension.
Step 6: Adhere stickers, using Foam Squares on some for added dimension.