
Step 1: Cut three 5″ x 5″ squares out of White Solid Cardstock. Cut two 4-5/8″ x 4-5/8″ squares and one 1-3/4″ x 1-3/4″ square out of patterned paper.
Step 2: Score the white squares on the diagonal.

Step 3: Cut the three squares of patterned paper on the diagonal.
Step 4: Adhere the three cardstock squares together using the Tape Runner
Step 5: Adhere the paper triangles to the cardstock using repositionable adhesive.

Step 6: Combine one hook and loop together and adhere to the upper corner. Fold up the card to resemble a pyramid to close the card and set the adhesive dot.

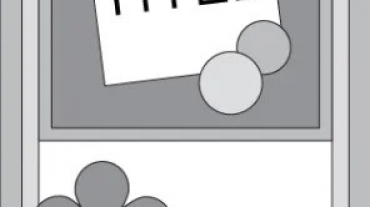
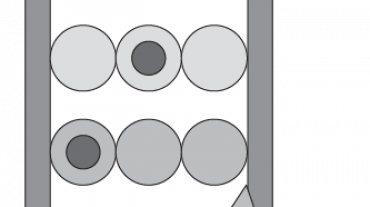
Step 7: Embellish with stickers and flower embellishments. For any sticker that hangs off the edge, apply some baby powder to take away the stickiness.
Step 8: Write your sentiment on one of the blank panels.
Step 9: Collapse the card to a flat rectangle to fit into a 5″ x 7″ envelope for mailing or gifting.